Approving changes
New content, and changes to existing content must be checked and approved before they are made available on your website.
When you're approving content, you will need to:
- ensure the correct categories have been assigned
- check that the metadata is appropriate
- check that there are no glaring formatting errors such as large paragraphs or long links
- check for spelling and grammar errors
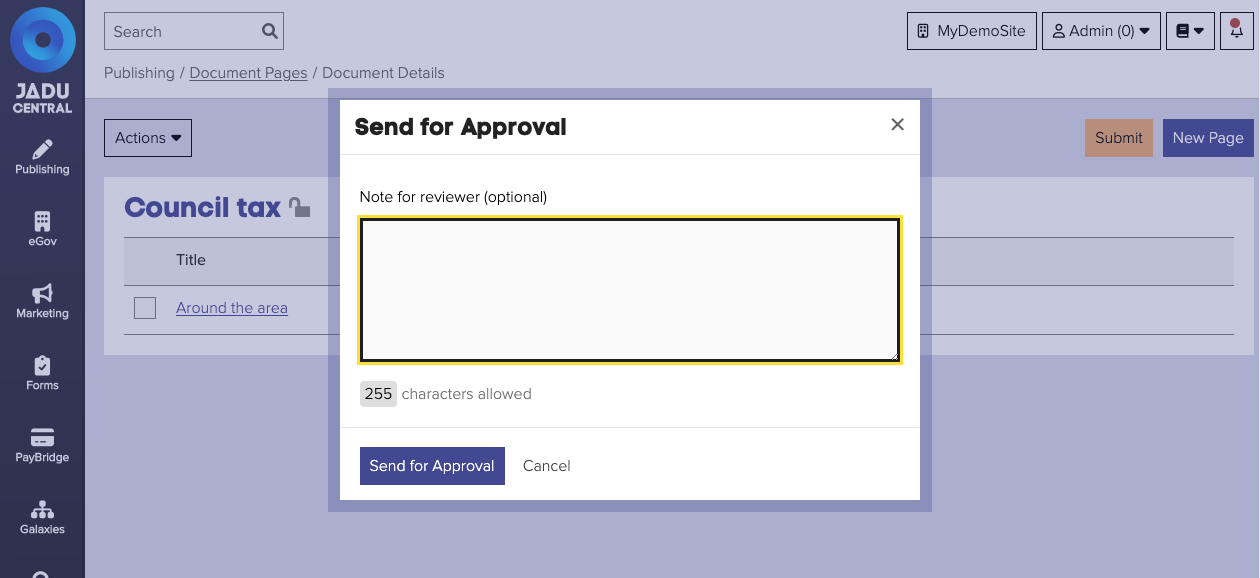
Sending content for approval
- When editing a piece of content, click the Submit button. The "Send for Approval" panel will open.
- You can include a helpful comment for the reviewer by adding it to the textarea.
- Click the Send for Approval button to submit your request.
The comments you add when submitting content will be added to the history log for this page. You can view the history log by selecting View History from the Actions menu.
Your reviewers will now be notified that they have a new task (if they have enabled workflow email alerts) and see a new task in their task list.
Approving and rejecting content
If you are assigned to the second level, or higher, of a workflow you will receive items to approve from other admins.
When a new item arrives for you, click the link in the email, or your task list to view details of the page.
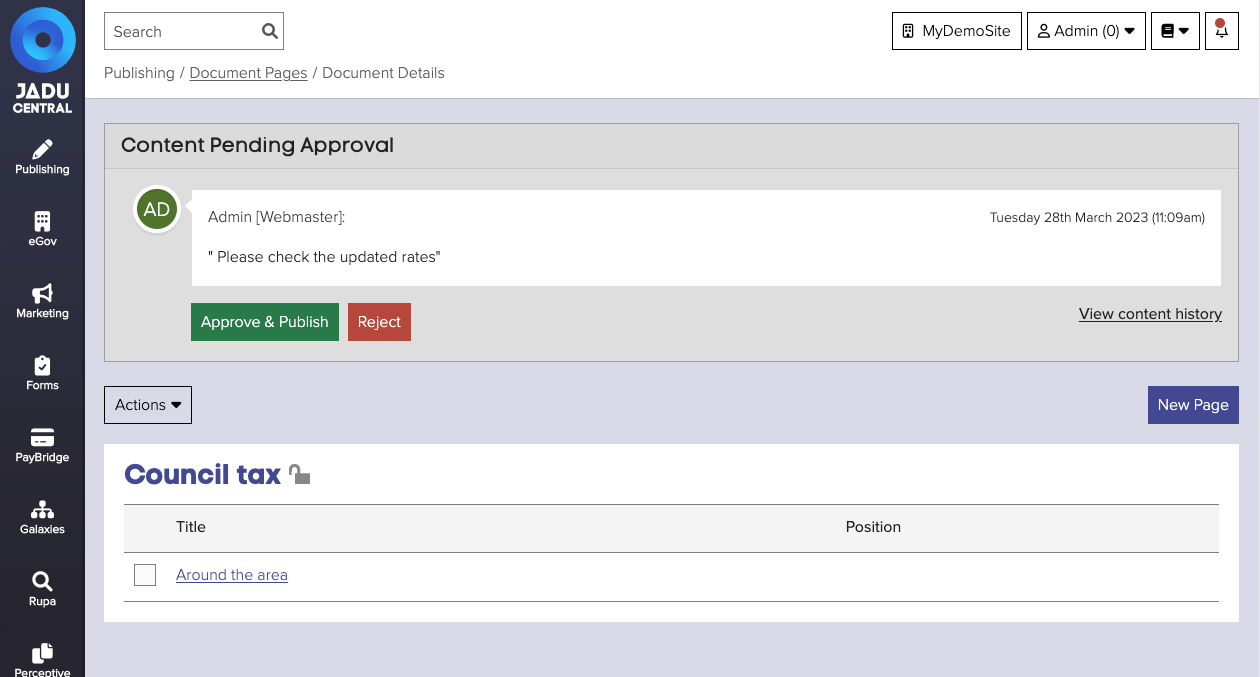
- Review the piece of content and decide whether to accept or reject the proposed changes.
- Click Approve & publish or Reject depending on your decision. A workflow panel will open.
- You can include a comment for the admin by adding it into the textarea.
- Click the Approve & publish or Reject button to submit your decision.
You can review the history of the page by clicking the View content history link. This will open the content history panel and list who has made changes and when. You can also compare versions by selecting Track changes from the Actions menu.