Downloads
If you have any content you wish to add to your organization’s site in the form of leaflets or published documents, then you may wish to make these available as downloads.
Jadu Central allows you to upload a large number of file formats for your visitors to download such as PDF, Excel, Word, text only and image files.
It may be useful to upload the same document in a number of different file formats in order for your visitors to have a choice of which format they would like to view.
Managing downloads
Downloads are managed via the Publishing menu.
If your account has permission to access downloads, you navigate to their management area by the following:
- Click the Publishing icon in the left navigation bar. The Publishing menu will open.
- Click the Downloads link in the first group of links. A list of downloads will now be shown, with links to create new downloads if your account has the appropriate access permissions.
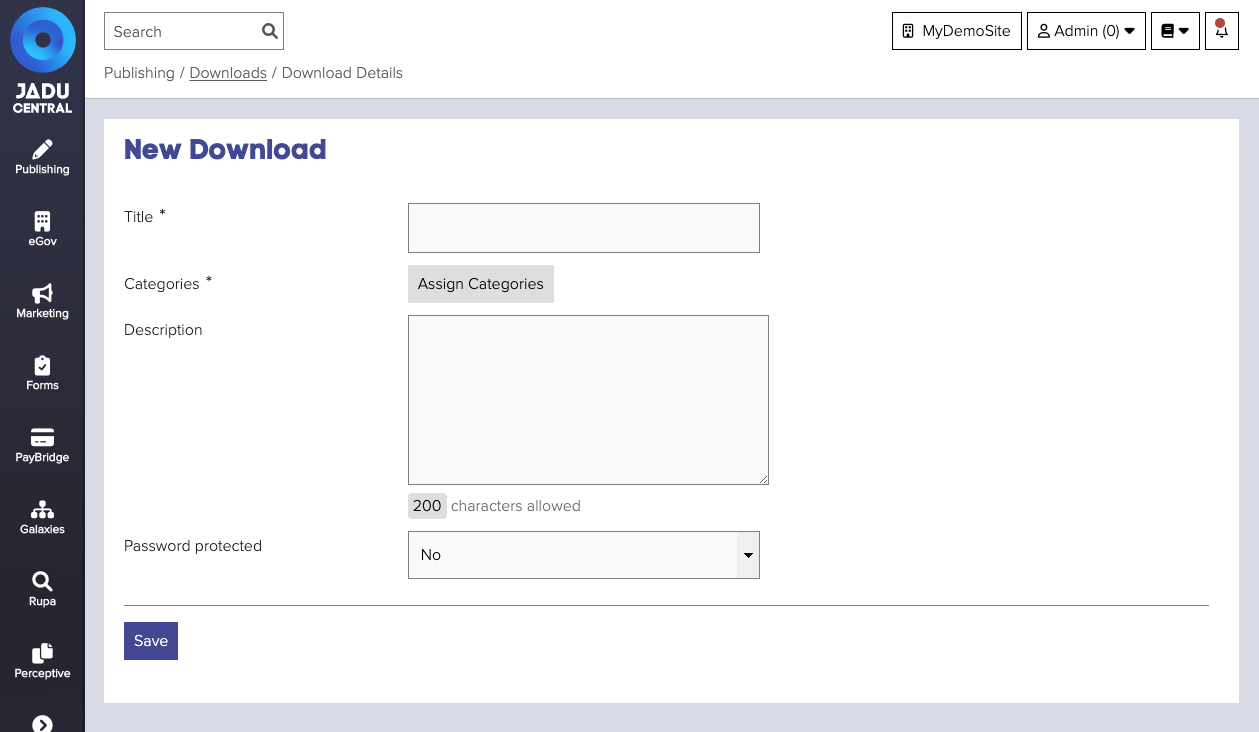
Download fields
| Field | Notes | Required? |
|---|---|---|
| Title | Create a relevant title as this title will be used to reference your download when someone searches for it within your application. | ✅ |
| Categories | Location of this download in your site's navigation structure. See Categories for further details. | ✅ |
| Description | Enter a short description of the download you are creating | |
| Password protection | Enables access to downloads on the live website to be password protected. Selecting Yes from the dropdown list opens a Password field where you can enter the password that will be required to gain access to the download file on the live website. |
Once a password has been set it is not viewable to Jadu Central users.
Uploading a file from your computer
- When editing the download, click the Actions button to open the actions menu. Click the Upload file link. The upload file form will be shown at the bottom of the page.
- Enter a title for the file, if the Upload method dropdown is shown, select "Upload a new file". Then select a file to upload.
- Click the Save button to save your changes.
There will be a maximum allowed file size that will be configured according to your organization’s requirements.
Uploading a file via WebDAV
- When editing the download, click the Actions button to open the actions menu. Click the Upload file link. The upload file form will be shown at the bottom of the page.
- Enter a title for the file, if the Upload method dropdown is shown, select "Select a file from the bulk upload list". The "Download bulk uploads" panel will open.
- Select a file to attach to your download by clicking the file title. The "Download bulk uploads" panel will close.
- Click the Save button to save your changes.
WebDAV may be disabled on your environment. It is not available on Windows servers, nor in Galaxies sites.
Linking to a file
- When editing the download, click the Actions button to open the actions menu. Click the Link to file link. The link to file form will be shown at the bottom of the page.
- Complete the values for the file link, including the title, file URL and file size fields.
- Click the Save button to save your changes.
Drag/drop uploading a file
- When editing the download, click the Actions button to open the actions menu. Click the Drop in file link. The drop target shaded area will appear below.
- Drag and drop files from your desktop onto the shaded target area. A progress bar will be shown detailing the progress of uploading the file. When the file is fully uploaded, it will be added to the table of files above the drop target area.
Editing a file details
- When editing the download, click on the file's title in the file list. The file form will open at the bottom of the page.
- If you need to attach a new file, check the Change file? check box. Form fields for attaching another file will now be shown.
- Click the Save button to save your changes.
You can not change a file link to an upload. To make this change you would need to delete the old file record and add a new one.
Replacing or changing a file
- When editing the download, click on the file's title in the file list. The file form will open at the bottom of the page.
- To change the file, check the Change file? check box. Form fields for attaching another file will now be shown.
- Click the Save button to save your changes.
When changing a file the download file link remains the same.
Deleting a file
- When editing the download, click the check box next to the file to be deleted in the file list table.
- Click the Delete button at the bottom of the file list.
- Confirm the action when prompted.
This will remove the file from the website (once the download has progressed through the publishing workflow). However the file will be archived on your server in case you need to rollback the change.
Reordering files attached to a download
- When editing the download, drag the files up and down in the list by clicking the handle at the edge of the row.
File fields
| Field | Notes | Required? |
|---|---|---|
| Title | The name of the file that you wish to attach to your download | ✅ |
| File selection | Method of uploading the file to the website. | |
| File URL | The web address of the file you wish to link to your download. (You can copy and paste the link from your browser window address bar) | ✅ |
| Filesize | The numerical value of the size of the file you are linking to and asks you to select which file value this number is associated with, e.g. 20 KB. | ✅ |
| Filesize unit | The unit associated with the filesize entered. | ✅ |
Supported file types
Jadu Central does not limit the file types that can be uploaded. However, a list of supported file types can be defined in the FILE_TYPES element in globals.xml, if required.