Confirm map widget
The Confirm map widget allows for a map to be embedded onto a page, displaying layers of data from Confirm. The map also allows a url to be configured, and enabled for a map layer to allow for reporting an issue against an item on that data layer.
If you have not built a Jadu Homepage before, please refer to Homepages.
Once you have added the Confirm map widget to a Jadu Homepage, configure the settings.
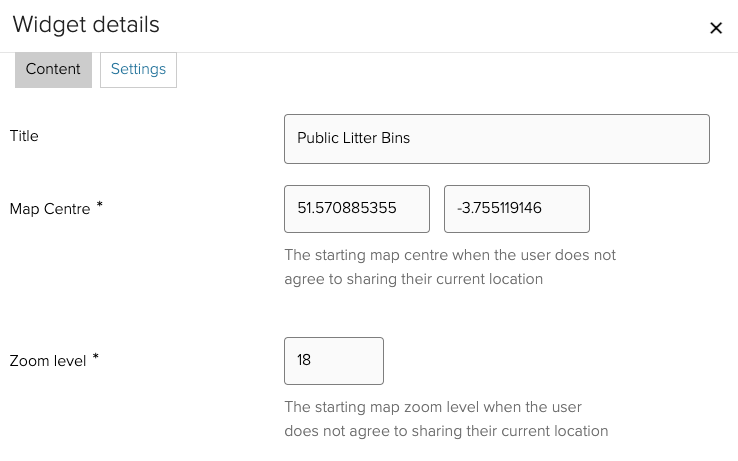
- Title - add an optional title to be displayed above the map.
- Map centre - the coordinates (latitude & longitude) to centre the map on when it first loads, if the end user has not agreed to sharing their current location. If they agree to sharing their current location, the map will centre on their location.
- Zoom level - this zoom level to use when the map first loads, if the end user has not agreed to sharing their current location. If they agree to sharing their current location, the map will zoom in to a predefined level.
The next settings that you configure depend on the purpose of the map.
If the map is to be used for reporting issues (e.g. broken streetlights, potholes, etc), the following two settings should be configured:
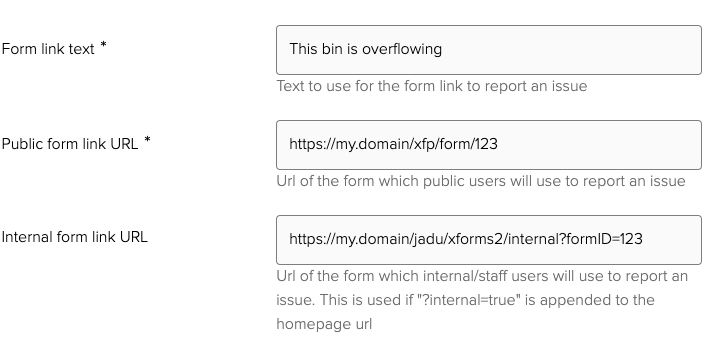
- Form link URL - the url to a form which is used for reporting issues identified on this map.
It advised that you append/startto the end of the form url to avoid an in-progress report for another location/asset being picked up. For example, if the form url ishttps://my.domain/xfp/form/123, usehttps://my.domain/xfp/form/123/startinstead. Note: this feature requires at least Jadu Central version 1.2. - Internal form link URL - the url to a form which is used by staff users for reporting issues on behalf of public users, this is typically the "Internal form" view of the same form that the public use. This url is used in place of the Form link URL, when
?internal=trueis appended to the homepage url. - Form link text - the text to use when prompting a user to report the issue via the above form link.
If the map is to be used for reporting issues purely based on location (e.g. a pothole or an obstruction on a road/pavement), enable the Allow user to plot a point toggle. Doing so will make some extra settings available:
- Boundary datasource - select the Data Source (configured in Data Sources) which defines the boundary layer. This will prevent the end user plotting a point (and therefore raising an issue) outside of the area that the authority is responsible for. If no Data Source is selected, the user can plot a point anywhere on the map.
- Road/streets datasource - select the Data Source (configured in Data Sources) which defines road/street assets. This is used to determine information about the point that the user has plotted on the map, such as the Site Code and Asset ID, for use when raising an Enquiry. It can also be used to identify maintenance responsibility in order to prevent a user reporting an issue for a road maintained by another party. When the user plots a point, the information for the nearest road (based on its geometry) to the plotted point within 20m will be used.
- Marker icon - select an icon to use for the map marker when the user plots a point. This setting will be disabled if an icon set is not configured.
- Marker background colour - input the hex code of the colour to use for the background of the map marker.
- Marker icon colour - select the colour to use for the marker icon. It is important to ensure that the colour you choose has sufficient colour contrast with the marker background colour, to meet accessibility guidelines. There are many online tools available to check this, such as https://webaim.org/resources/contrastchecker. If an icon set is not configured or no icon is chosen, an auto-generated number will be used in place of the icon, which will be displayed in the colour chosen here.
- Popup message - a short informational message to include in the popup bubble for points that the user plots.

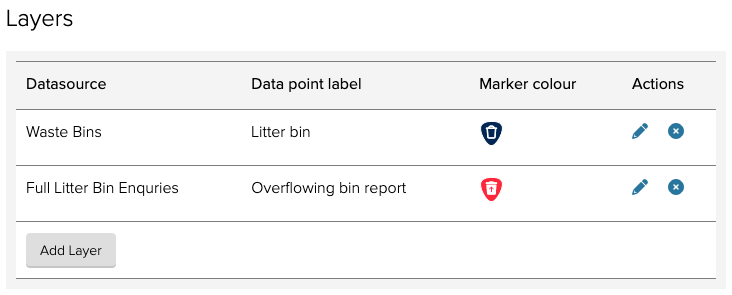
If the map is to be used for reporting issues against fixed assets (e.g. street lights, gullies, bollards, etc), you need to add a data layer to the map to display these assets. Below the Layers table, click Add Layer. You will then be prompted to enter the following settings for this layer on the map:
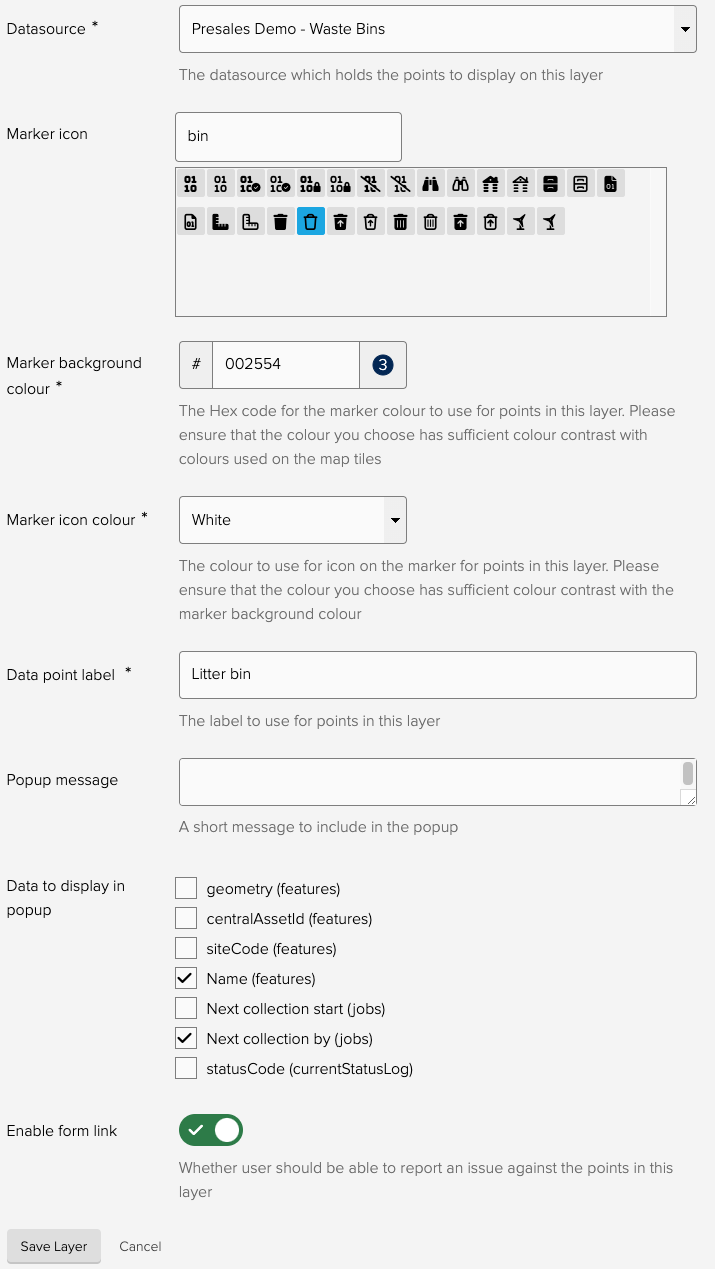
- Select datasource - select the Data Source (configured in Data Sources) which defines the assets which you wish to display on the map.
- Marker icon - select an icon to use for the map marker representing the asset. This setting will be disabled if an icon set is not configured.
- Marker background colour - input the hex code of the colour to use for the background of the map marker.
- Marker icon colour - select the colour to use for the marker icon. It is important to ensure that the colour you choose has sufficient colour contrast with the marker background colour, to meet accessibility guidelines. There are many online tools available to check this, such as https://webaim.org/resources/contrastchecker. If an icon set is not configured or no icon is chosen, an auto-generated number will be used in place of the icon, which will be displayed in the colour chosen here.
- Data point label - enter a label to use for points in this data layer.
- Popup message - a short informational message to include in the popup bubble for points in this data layer.
- Data to display in popup - the options you see here will depend on the data made available by the Data Source. Select the fields which you want to be shown in the popup bubble when a marker from this layer is clicked.
- Enable form link - enable this toggle to allow reporting against assets in this layer.
Click Save Layer. You will see the layer appear in the summary table.
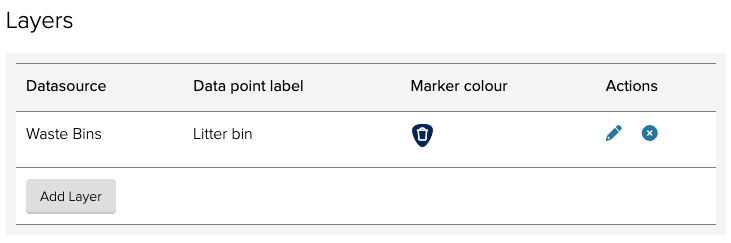
If required, you can add other asset layers to the map in the same way.
It is likely that you will want to display other data on the map, such as existing enquiries against the displayed assets, or planned works. These can be added as additional layers, following the steps above. If the data on the layer is purely informational, ensure that you leave the Enable form link toggle disabled.