Content scheduling
You can use Jadu Central to make content available, or remove it from your site, on a scheduled date.
Content schedules can currently be applied to:
- Documents
- Events
- News articles
The application will always send content schedule email alerts to the current owner of the item. This applies even if a different admin added the content schedule to the item.
Adding a content schedule
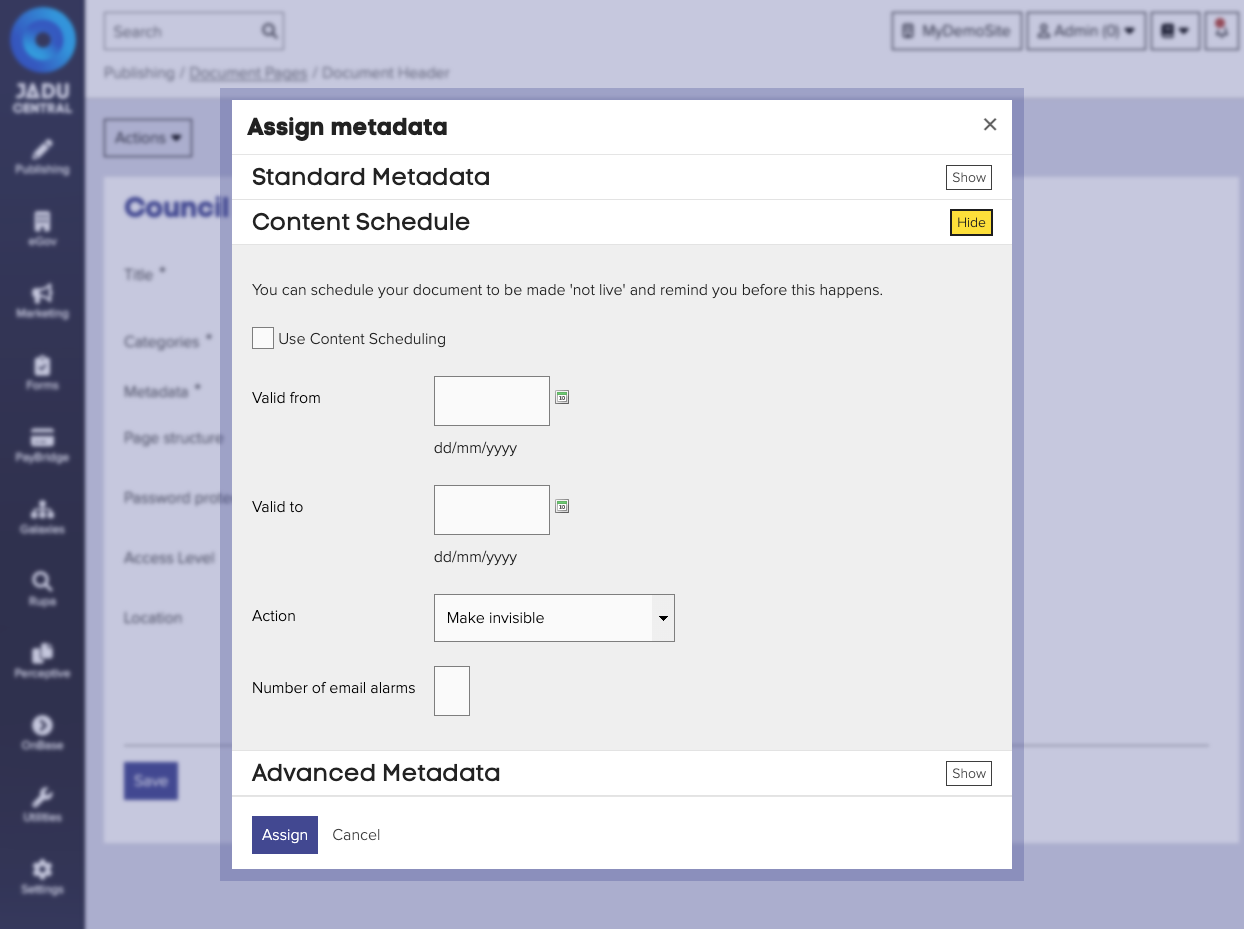
Content schedule values are set within the item's metadata.
- When editing a piece of content, click the Assign metadata button. The metadata panel will open.
- Click the Show button next to the "Content Schedule" heading. The content schedule controls are now shown.
- Check the Use Content Scheduling checkbox.
- Enter dates in the Valid from and Valid to fields.
- Select an action from the Action menu. Invisible items are hidden from the site's navigation, but still accessible when a direct link is clicked. "Not live" items will not be accessible, even when a direct link is clicked, but will remain archived in the Control Center for future reuse and review.
- Enter the number of days you wish to receive a notification email in the Number of email alarms field. Eg. entering 3 in this field will result in a notification email being sent 2 days before action, 1 day before action and on the day of action.
- Complete any other metadata changes and then click the Assign button. The metadata panel will close.
- Click the Save button to save your changes.
Metadata is not saved when the metadata panel is closed. You must click the Save button to save your changes.
Finding content with a schedule applied
A list of content with a content schedule applied is available in your task list.
To view the list:
- Click the admin menu in the top toolbar, and select My Tasks.
- Click the Content Schedule tab.
Clicking either the Your Schedule (upcoming) and Your Schedule (expired) links will toggle the list content between scheduled changes that will be actioned in the future, and those that have already been actioned.
For a detailed list of all content that has a content schedule applied use the Scheduled content changes report.
Removing a content schedule
- When editing a piece of content, click the Assign metadata button. The metadata panel will open.
- Click the Show button next to the "Content Schedule" heading. The content schedule controls are now shown.
- Remove the check from the Use Content Scheduling checkbox.
- Complete any other metadata changes and then click the Assign button. The metadata panel will close.
- Click the Save button to save your changes.